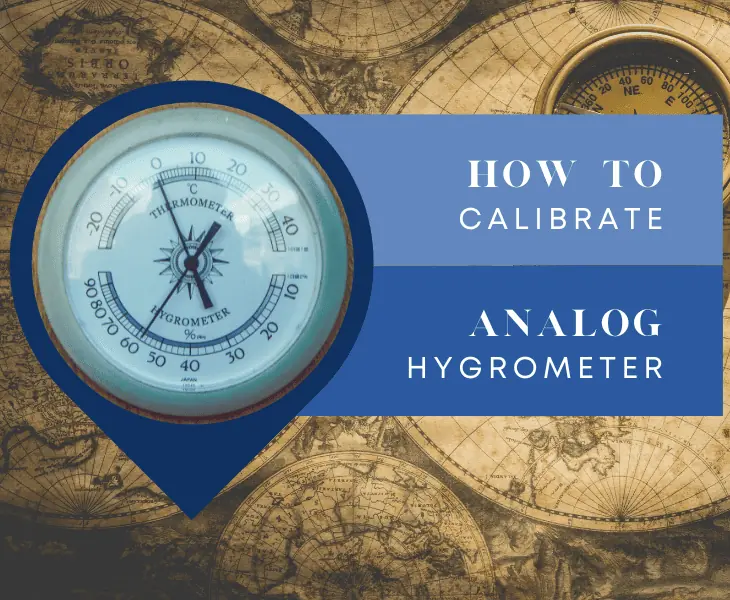
How To Calibrate Analog Hygrometer? Learning to calibrate analog hygrometers is important if you want to monitor humidity levels around you.
Analog hygrometers have always been considered a trusted instrument mainly for their reliability and simplicity.
But, you get accurate measurements only when you have calibrated it properly. So, how do you calibrate the hygrometer in the right way?
You can calibrate the analog hygrometer by comparing it with a pre-calibrated digital device or use salt, boiling water, and other options.
More About The Analog Hygrometer
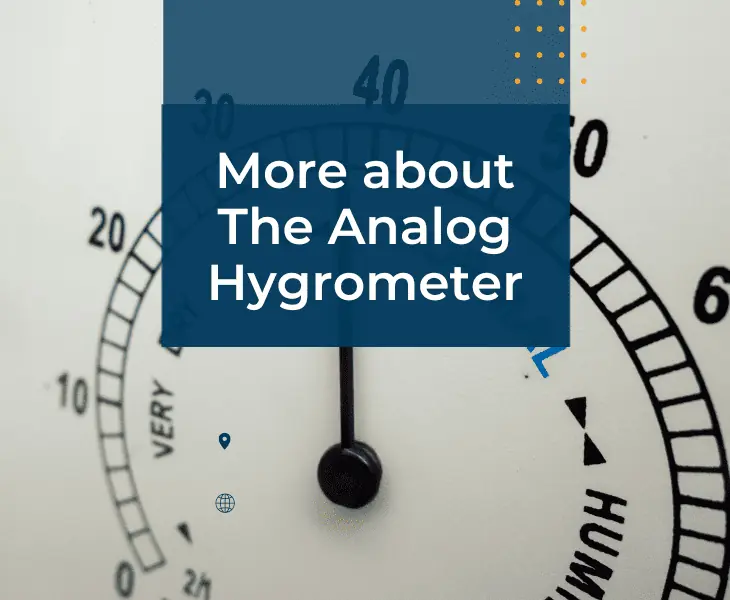
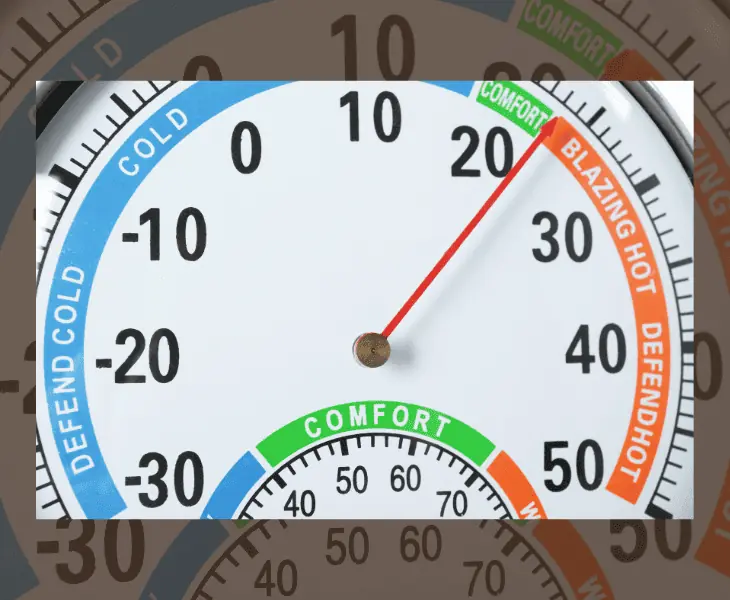
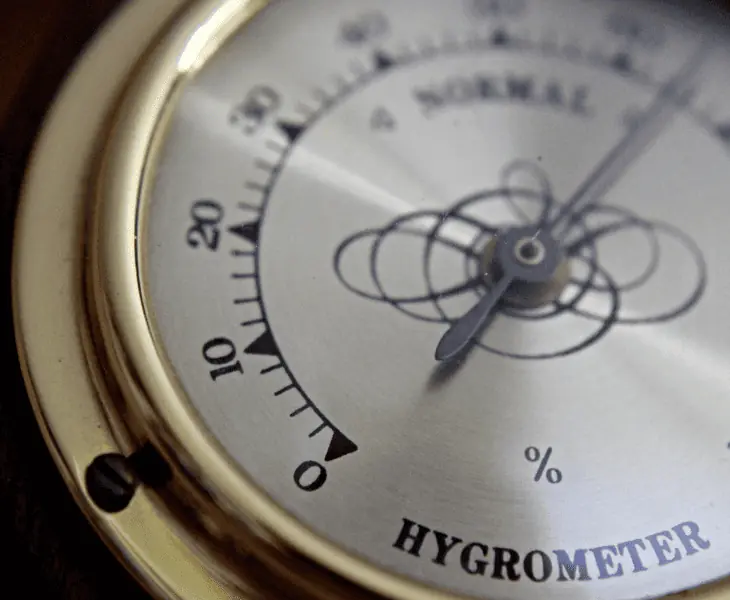
Hygrometers are meteorological instruments that measure humidity, moisture in the air, or any other gas.
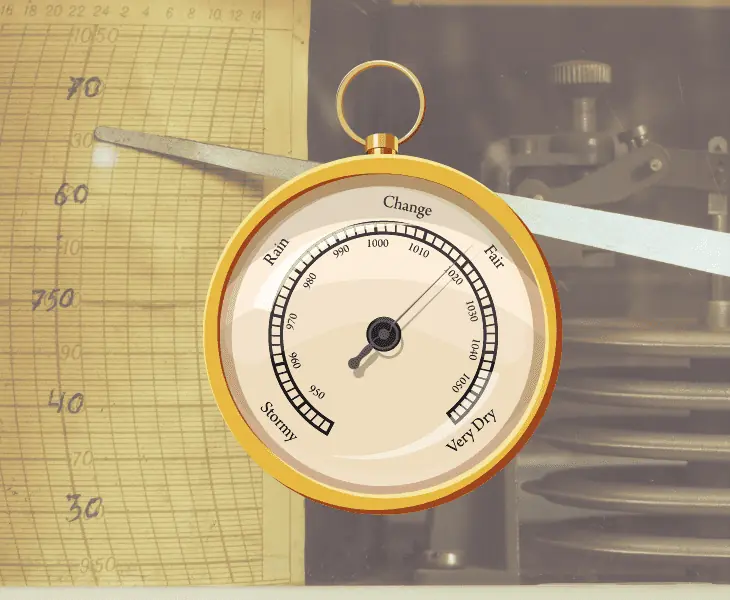
Several kinds have been developed centuries after the first instrument by da Vinci, including one by Francis Folli in 1664.
It was considered more practical than da Vinci’s design and one by the physicist/geologist Horace Benedict de Saussure in 1783.
His design was the first to use human hair and how it contracts and expands in response to water, a property of many organic substances.
Fact: The concept of the hygrometer has been around since 1480, and was one of many scientific instruments invented by Leonardo de Vinci.
Why Analog Hygrometers Need Calibration?
Analog hygrometers are sensitive mechanical instruments. They need calibrating to be accurate, especially when they are used for the first time.
The process is simple and involves matching the values of the hygrometer to an accurate comparative measurement.
This is often supplied by a second hygrometer that is known to be accurately calibrated.
The side-by-side comparison provides a reliable reference.
And the values should be a near match to the reference hygrometer allowing some tolerance; if not, the instrument needs calibrating.
How to Calibrate Analog Hygrometer in the Right Way?
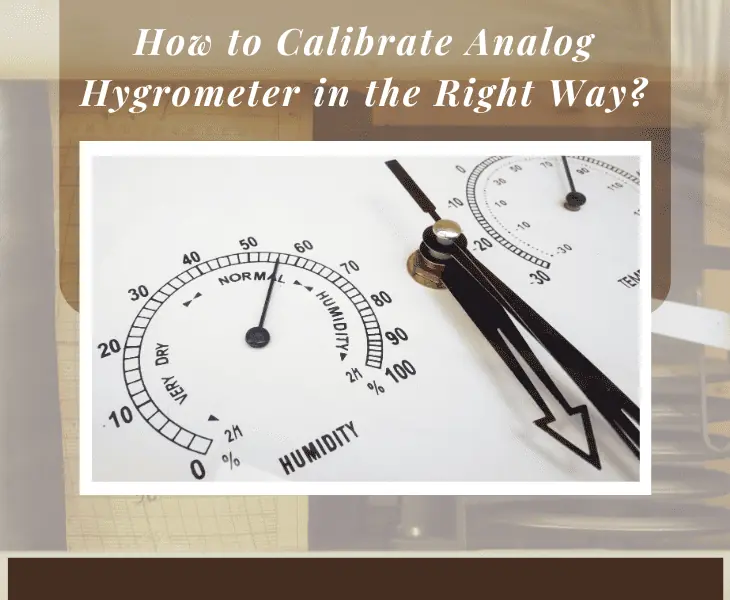
Whether performed using a kit or with more traditional methods, successful calibration takes preparation. Here are the steps to help you calibrate it in the right way.
Step #1. Get Another Calibrated Hygrometer
Make sure you have at least one hygrometer or humidity reader you know for certain is calibrated correctly, or conduct the salt or ice tests. This equipment will provide the external reference to calibrate others, including any analog, accurately.
Step #2. Ensure Your Hygrometer Can Be Recalibrated
Check if your analog hygrometer can be recalibrated. Not all types and models can be. If it can, there will be a small screw on the back. This works the needle on the values gauge.
Step #3. Set Both Hygrometers
Place the calibrated hygrometer next to the uncalibrated hygrometer for about 5 minutes.
Step #4. Compare the readings.
Take a reading and compare. If they are the same, the analog hygrometer does not need calibrating.
Step #5. Make Adjustments
If the readings differ, take the uncalibrated value from the calibrated value to find the difference and the amount to adjust.
Recording Initial Readings and Deviations
It is advisable to take several initial readings at different locations and times, including several using a calibrated machine.
It is important when calibrating a hygrometer for the first time or when using an older mechanical model that has not been used for a while.
Be sure to carefully record the levels so that, over time, they reveal the usual humidity levels for the space.
Fact: There will always be the chance of deviations because humidity levels fluctuate but values within 3points of each other are considered accurate.
Adjusting the Hygrometer for Accuracy
Pressing a reset button to start a series of fresh readings is not an option on the analog hygrometers.
Instead, these need to be physically adjusted, which is not always possible. Those models that allow it have a small calibrating screw on the back.
This screw connects to the needle, indicating a dial’s humidity value. It needs to turn clockwise to increase the reading and anti-clockwise to lower it.
An Important Consideration
If the hygrometer does not have a calibration screw and shows a deviation away from 75%, the readings should be recorded with the deviation noted and accounted for in future readings.
Additional Ways to Calibrate Hygrometers
There are other reliable ways to calibrate a hygrometer. A popular method makes use of the hygroscopic properties of salts.
You will need:
- 60-70 grams of salt per 100ml of water
- A small container such as an egg cup or bottle top
- A zip lock bag or some other transparent air-tight container
- A teaspoon or dropper
- A small screwdriver to adjust the hygrometer
Which Salt to Use?
The salt test is a very safe calibration method that can be carried out with regular table salt. Safety glasses are advisable to guard against splashes.
Magnesium chloride, used in rock salt and aquariums, is known commercially as food supplement E511.
This salt is believed to achieve better accuracy, especially when used in its purest form, only available through a pharmacy.
The Salt Test Method
The principle behind the salt test method is to create a closed climate with a known humidity of close to 75.5%.
This is the natural level of humidity that supports damp salt without having it dissolve or dry out.
Even modern digital hygrometers are only accurate +/- 3 degrees. However, using common salt produces almost the same level of accuracy because how salt behaves around water is a natural constant.
How to Carry Out the Test Accurately?
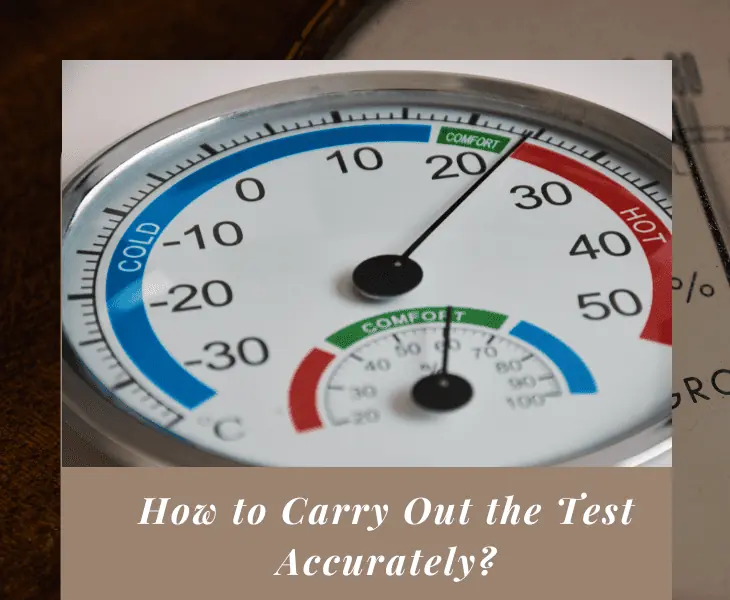
Accuracy is important, especially if you preserve rare books or food or enjoy a good cigar.
However, monitoring humidity levels is also good practice for managing molds which has health implications.
To carry out the salt test,
- Place the salt loosely into the small container.
- Use the teaspoon or the dropper to dampen the salt without dissolving it.
- Seal the small container and the hygrometer together in the bag or container. You can put in more than one hygrometer.
- Leave undisturbed for 6 hours minimum for the closed climate to develop.
- Leaving the bag or container untouched and sealed, take a hygrometer reading.
- Ensure the reading is around 75%.
- Any difference is how much you need to adjust the hygrometer so that for a reading of 71, you would need to add four points.
- Remove the hygrometer and a small container with salt from the bag or container.
- Make sure to throw away the salt.
- To adjust the hygrometer, use the screwdriver to rotate the small screw at the back to adjust the needle on the gauge.
Recommended Duration for the Test
Six hours seems the bare recommended minimum.
Those who use and recommend the salt test for calibration recommend longer, a good 24 hours or even 96, for the salt to stabilize completely.
Fact: No matter what method you use, be sure to check a hygrometer regularly, although the suggested duration between calibrations also varies.
What are Alternative Calibration Methods?

There are several other ways to calibrate measuring equipment with and without technology.
The Boiling Water Method
Like using salt because we know it stays damp at 75,5% (+/- 3%) humidity, water can be used.
It is mainly because we know at what exact temperature it always boils, 100oC (212oF).
Traditional mercury thermometers and food thermometers are calibrated in this way. Water is brought to a rolling boil, and the thermometer’s stem is put into it.
Fact: The water needs to cover the first two inches for at least 30 seconds after which it should read 212oF or 100oC.
Ice Point Method

Like the boiling water method, the ice point method uses water’s known properties.
This time, it is the temperature it freezes at and is also a recognized method of calibrating all kinds of thermometers.
It’s quick, and it is simple.
- Fill a tall glass with ice, then add cold tap water.
- Stir and leave for 3 minutes.
- Stir again to even out the temperature.
- Without touching the bottom or sides of the glass, insert the thermometer into it.
- Leave it in the ice water to cover the bulb for 30 seconds.
- Once extracted, it should read 0oC or 32oF.
Commercial Calibration Kits

There are many kinds of commercial calibration kits available.
Most on the market are electronic, using technology designed to improve the accuracy of various measuring equipment.
A Good Option to Consider
Instruments like the Boveda One-Step Hygrometer Calibration Kit are acknowledged as time savers and fool-proof.
They are particularly useful when actively monitoring humidity in large spaces using several hygrometers at once or maintaining the humidity levels for tobacco stored in wooden humidors.
The electronic kits also last longer than the older mechanical calibrators.
Fact: Digital hygrometers have a reset button, making them ideal to calibrate analog hygrometers.
Takeaway
Learning to calibrate an analog hygrometer can help you get the most accurate readings every time you use it.
It does not have to be difficult, especially when you already have another pre-calibrated hygrometer.
But you can try many other alternatives, including the salt test, the boiling water method, and more. Be sure to calibrate the device and check it often to maintain accuracy.